Showing posts with label delicious. Show all posts

Monday, January 3, 2011

Nommable roots?

EAT IT! Chock full o' healthy good stuff (of god knows what) and chewy-ishly yummy at the same time. Know what it is? ? Cassava. Cassava roots, in a cake. I've come across a couple odd cakes or two, (make way for POTAHTO cake!)  but this one was sort of familiar, because it's also called Cassava Bibinka. *What a coincidence! I like bibinka!* Cassava Cake is from the Philipines, where cassava roots are abundantly found. Here in North America, not so much. Except maybe in Mexico, I've never been there. I found this wonderfully easy cassava cake recipe, which only requires you to take a short trip down to your local Filipino goods store or T&T if you have it there.

***If you don't want to scroll all the way through the posts, I'll put the recipe in a clump down below.***

What you need is;

2 packages of frozen grated Cassava.
1 bottle Macapuno (coconut strips)
1 can condensed milk
1 can coconut milk
1/4 cup butter/margarine, melted.

You'll need to defrost the cassava packages in the fridge overnight, or in the microwave, first. A bunch of water will leak out, so be sure you put it in a bowl. For the Macapuno, you can just use 1/2 the bottle, if you've got a superbly keen addiction of sweetness, feel free to put the whole bottle in!

preservatives much? ;)

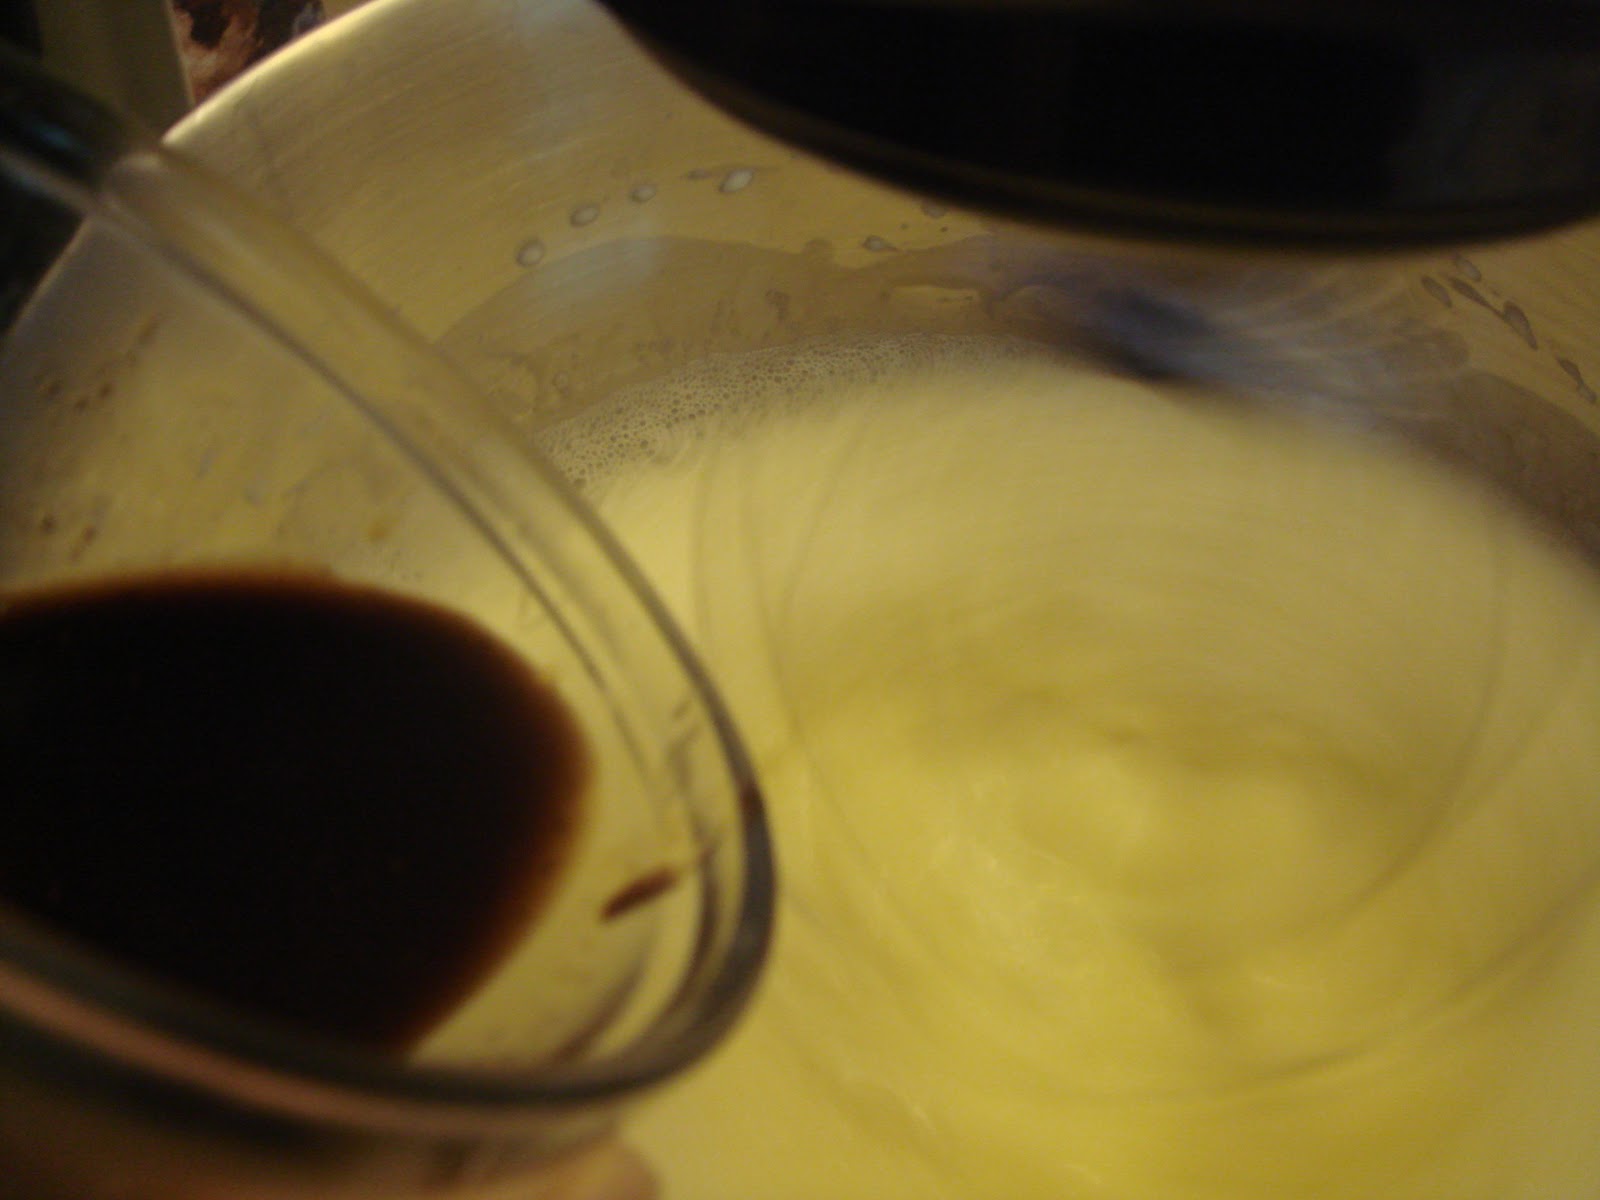
This makes a 2-quart dish of cassava cake. First, preheat your oven to 350F. Then mix together your melted butter and cassava in a large bowl with a wooden spoon. This could also be done with a mixer, but being lazy, I just stirred the heck out of it with a wooden spoon. The butter MUST MUST MUST be really well mixed in! Or else you'll form pools of melted butter on the top of the cake whilst you're baking and it'll basically fry the top of your cake. Now mix in the condensed milk and coconut milk:

GLOOP!! Condensed milk.
This reminds me of Coconut Bubble Tea. Mmmm...
And add your Macapuno strings.

WORMS???
Now mix it into something cake-batter looking.

Lumpy cakes!
I lined my glass baking dish on the bottom with banana leaves, since I had some on hand. If you don't have any, just grease the bottom and sides very, very, well. This cassava cake likes to stick.

That leaf doesn't look so square :(
Now pop it in the oven!


Bake it for 1-1/2 hours. The original recipe said 45 minutes, but it wasn't even close to done. I suggest you just put it in for at least an hour, and bake it until it doesn't look like soup in the middle anymore.

Voila!
Golden brown to perfection! (I think) A tip: some people like to put cheese on top of it. If you want to try, just lightly sprinkle it with cheese and pop it back into the oven for 5 minutes or until the cheese melts.

I hope everyone tries this, because it's a culturally different type of cake, and something worth trying. Bye!


Oh, and the condensed version of the recipe:


2 packages Frozen Grated Cassava (thawed)
1 Bottle Macapuno (coconut strings)
1 Can Condensed Milk
1 Can Coconut Milk
¼ Cup Butter (melted)

Preheat the oven to 350F. Mix together the cassava and the butter until thoughroughly combined. Mix in everything else, and pour into a well-greased/banana leaf line 2 quart baking dish. Bake for 1-1 1/2 hours.

Saturday, December 25, 2010

MERRY CHRISTMAS WORLD!

Merry xmas!!!! yesterday was really busy, so I'll be posting up the stuff I made today. A real quick post today basically, it's christmas after all! I made bread pudding and eggnog yesterday.

The bread pudding was ok, but it wasn't completely cooked yet, maybe that's why it was  mushy. Here's the recipe:


Ingredients

10 slices white bread, cut into cubes
1/4 cup margarine, melted
1-2 teaspoon ground cinnamon
6 eggs
3/4 cup white sugar
2 teaspoons vanilla extract
1/2 teaspoon salt
3 cups hot milk
1 pinch ground nutmeg
 
 
First, preheat the oven to 375F. Then, cut your bread up into cubes. Then mix the cinammon and butter together (1 or 2 tsp of cinnamon to your taste) and pour it over your bread cubes in a bowl. Toss the cubes before transferring it to a 2 quart baking dish. The dish might seem a bit small, but trust me, it's just the right size.

See? Exactly right.
In the same bowl, beat the eggs and sugar until dissolved. Stir in the vanilla and salt and whisk the hot milk in GRADUALLY. You don't want the egg to curdle!
No curdles :O!
Now pour the mix all over your bread cubes...


And sprinkle the nutmeg over top before leave it to soak for 5 minutes.

Before 5 minutes
After 5 minutes. Look different?
Pop it in the oven for 35-45 minutes, or when you insert a knife in the middle, it comes out clean. While this was baking I prepared the turkey

TURKEY!
It was basic; chop up some onions, celery and carrots with some baby potatoes to fill the bottom of the roasting pan and rub the turkey with a lil' salt and pepper and butter. Ta-da! By then, the bread pudding was cooked, at least I thought it was. You see, I didn't check it :( Oops!

Not bad at all
I popped the turkey in for about 3 1/4 hours then made my eggnog. 

Ingredients
6 eggs
3 cups milk
8 tablespoons sugar
3 teaspoon vanilla essence
1/2 teaspoon nutmeg, ground


Pretty thick, considering we didn't use cream, but make sure you mix and refridgerate it well. THIS CONTAINS RAW EGGS. Anyways, in a large bowl, beat the eggs using an electric beater 
 
 
By turn, add milk & sugar.
Sugah
Milk

Continue beating until mixture thickens slightly. Add in the vanilla essence & ground nutmeg.

Cover with plastic wrap and refrigerate until chilled (at least 3 hours).
Eggnog :)
Looks good? It's pretty good, but I suggest you cut the vanilla down by half or by 1 tsp at least, it's strong. Later on in the day, we finally got to eat that cheesecake! I took a picture of it finally.

See them blotches? :S
I didn't put any coolwhip on top--too lazy--but the icing was from that snowman decorating cupcake thing from a day or two ago. It was scrumptious, by the way, but we only ate half of it. 

I wish everyone a merry Christmas and a fantastically Happy Holiday! Don't forget it's boxing Day tomorrow :)

Tuesday, December 21, 2010

Christmas FieSTa

Holy Cow. It's 4 days until Christmas. Pretty awesome right? Of course! It also means I need to make a HUGE baking FIESTA. Ah, don't you remember those Christmas' when your mom or grandma made a ginormous load of goodies, so much you couldn't finish it all though the family was made up of cookieholics? My Christmas goal is to recreate that scene. Sorta like that pic on the left. It looks so warm and eatable. I was also hoping to knit some stockings as a gift for the family, but never mind that. I've already started a scarf/stole thing that'll probably take a year to finish at the rate I'm going. A heads-up: the next few posts will probably just be a bunch of stuff I got to make. So it'll be like the four days of Christmas, with baking baking baking!

DAY 1 was today And I managed to squish in 2 things actually. Bread, and Donuts!!

The donuts were a semi-win. They tasted a bit too yeasty, and the glaze recipe was way too runny and the paper towels soaked it up instead. They weren't bad though. They just weren't the best. In the beginning the frying was completely messed up. They were brown and out of shape because I peeled them off the tray I had them rise on. Here's a picture:
Brown, greasy little thangs!


Then it started looking better when I got through my 20 donuts, so the last ones turned out more like this:
Nommable!

Now the glaze was a problem. It was runny, runny, runny as hell. The tray holding my little fried beasts looked like it was soaked in water.

It looks like they decided to go potty

Still, it was light, airy and delicious. Next time I plan to make my own glaze and probably add a bit more sugar to the dough because the whole family is sugar addicts. The recipe I used? Click HERE. Just a tip - these taste like homemade donuts, not those heavenly delicious Krispy Kreme ones. But they're good. And add a teaspoon of vanilla, it helps.
If you're wondering about the bread, I didn't get to take a picture of it. :( But I make the bread as the staple recipe, so you'll probably see it in the future more than you want to.

P.S. Yes, the post below is rather lame. It was my first post though.